Creating a User Account
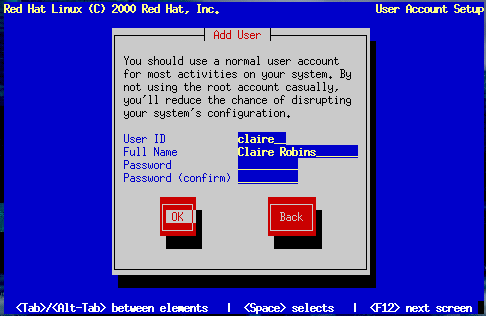
Next, you can create a user account for yourself which is for your everyday use (as in Figure 14-31). If you do not create a user account, after installation you'll have to log in as the root user (also known as the superuser). Root has complete access to the entire system. Logging in as the root user is best done only to perform system maintenance or administration. For instructions on how to create or modify user accounts after installation, refer to Chapter 3 or the Getting Started chapter in the Official Red Hat Linux Getting Started Guide.
If you choose to create a user account, the account directory will be created under the path /home (for example, /home/claire). Passwords are case-sensitive and must contain at least six characters.
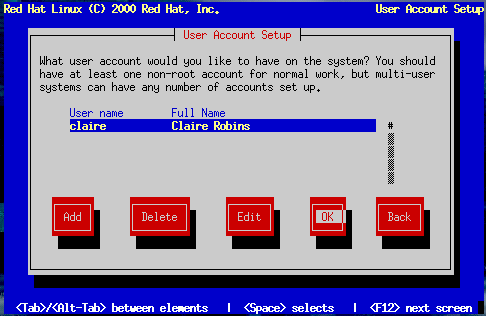
After you add a user account for yourself, the User Account Setup dialog (Figure 14-32) appears, giving you the opportunity to create additional accounts. Select Add to do so or OK to continue.
If you are performing a workstation- or server-class installation, your next task is to confirm your video hardware: turn to the section called Configuring Your Video Adapter. Otherwise, continue reading.

